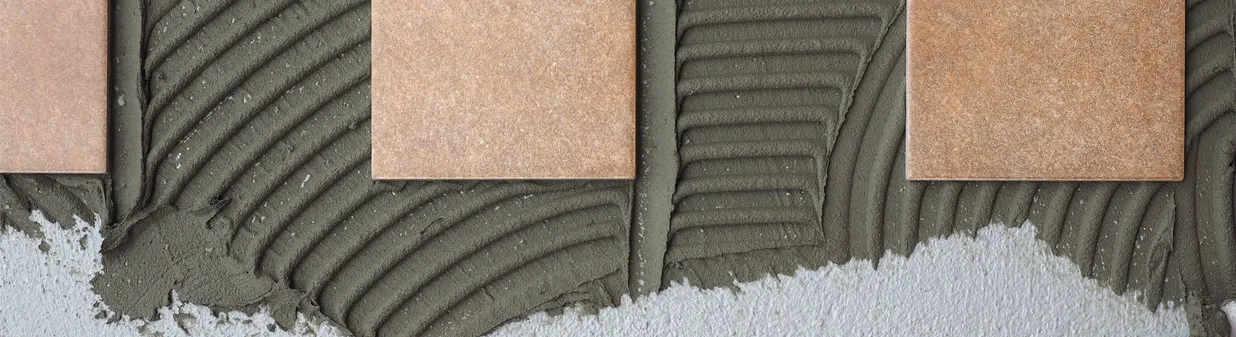
How to Lay Tiles: A Practical Guide
Tile installation is a key step in fitting out an interior, whether for a renovation or a new-build project. When carried out properly, it ensures durability, visual appeal and ease of maintenance. Whether you are considering floor tile installation or wall tile installation, certain technical rules must be followed to achieve a precise, long-lasting result. Choosing the right tiles is already a crucial first step. The format, thickness, material and finish have a direct impact on the installation method and the tools required.
Prepare the support: an essential step
Even before laying the first tile, preparing the substrate determines the final quality of the project. A poorly prepared floor or wall can lead to visible defects or even premature detachment.
The substrate must be perfectly clean, dry and level. A flatness tolerance of less than 5 mm under a 2-metre straightedge is generally recommended. Beyond this, a levelling compound must be applied to correct any irregularities. This self-levelling product, applied at a thickness of between 3 and 10 mm, creates an even surface.
In the case of a wall, particularly when installing wall tiles, it is essential to check that the old covering is properly bonded. Flaking paint or friable plaster must be removed. Applying a bonding primer then improves the adhesive’s grip.
Choose the appropriate installation type
The tile-laying pattern has a significant impact on the room’s visual appearance. Each technique meets specific aesthetic and technical requirements.
The upright position
The straight lay, also known as an aligned lay, involves arranging the tiles parallel to the walls. It is particularly suitable for standard square or rectangular formats, such as 30 x 30 cm or 45 x 45 cm tiles. This technique creates a clean, structured look, ideal for contemporary spaces.
The Offset Pose
The offset pattern, often used with rectangular tiles such as 20 x 60 cm, creates a dynamic effect. The offset is generally 50%, but can be reduced to 30% to limit stress on certain materials.
Diagonal placement
More technical, diagonal laying requires more cutting. It visually enlarges small rooms and draws the eye. This layout requires greater precision when marking out.
Herringbone laying
Inspired by traditional parquet flooring, herringbone laying is used with elongated tiles. It adds a strong decorative touch, particularly suited to refined interiors.
Mark out the lines before installation
Precise layout planning helps anticipate cuts and avoid visual imbalances. This step involves marking out guide lines on the surface to position the tiles harmoniously.
It is advisable to start from the centre of the room when laying floor tiles, so that cut tiles are distributed along the edges. For a wall, work often starts from a perfectly level horizontal batten fixed approximately 1 metre above the floor.
This preparatory work minimises errors and ensures consistent alignment, particularly for the joints.
Apply the adhesive and lay the tiles
The choice of adhesive depends on the substrate and the type of tile. A standard cement-based adhesive is suitable for most situations, while a specialist adhesive is recommended for large-format tiles over 60 cm.
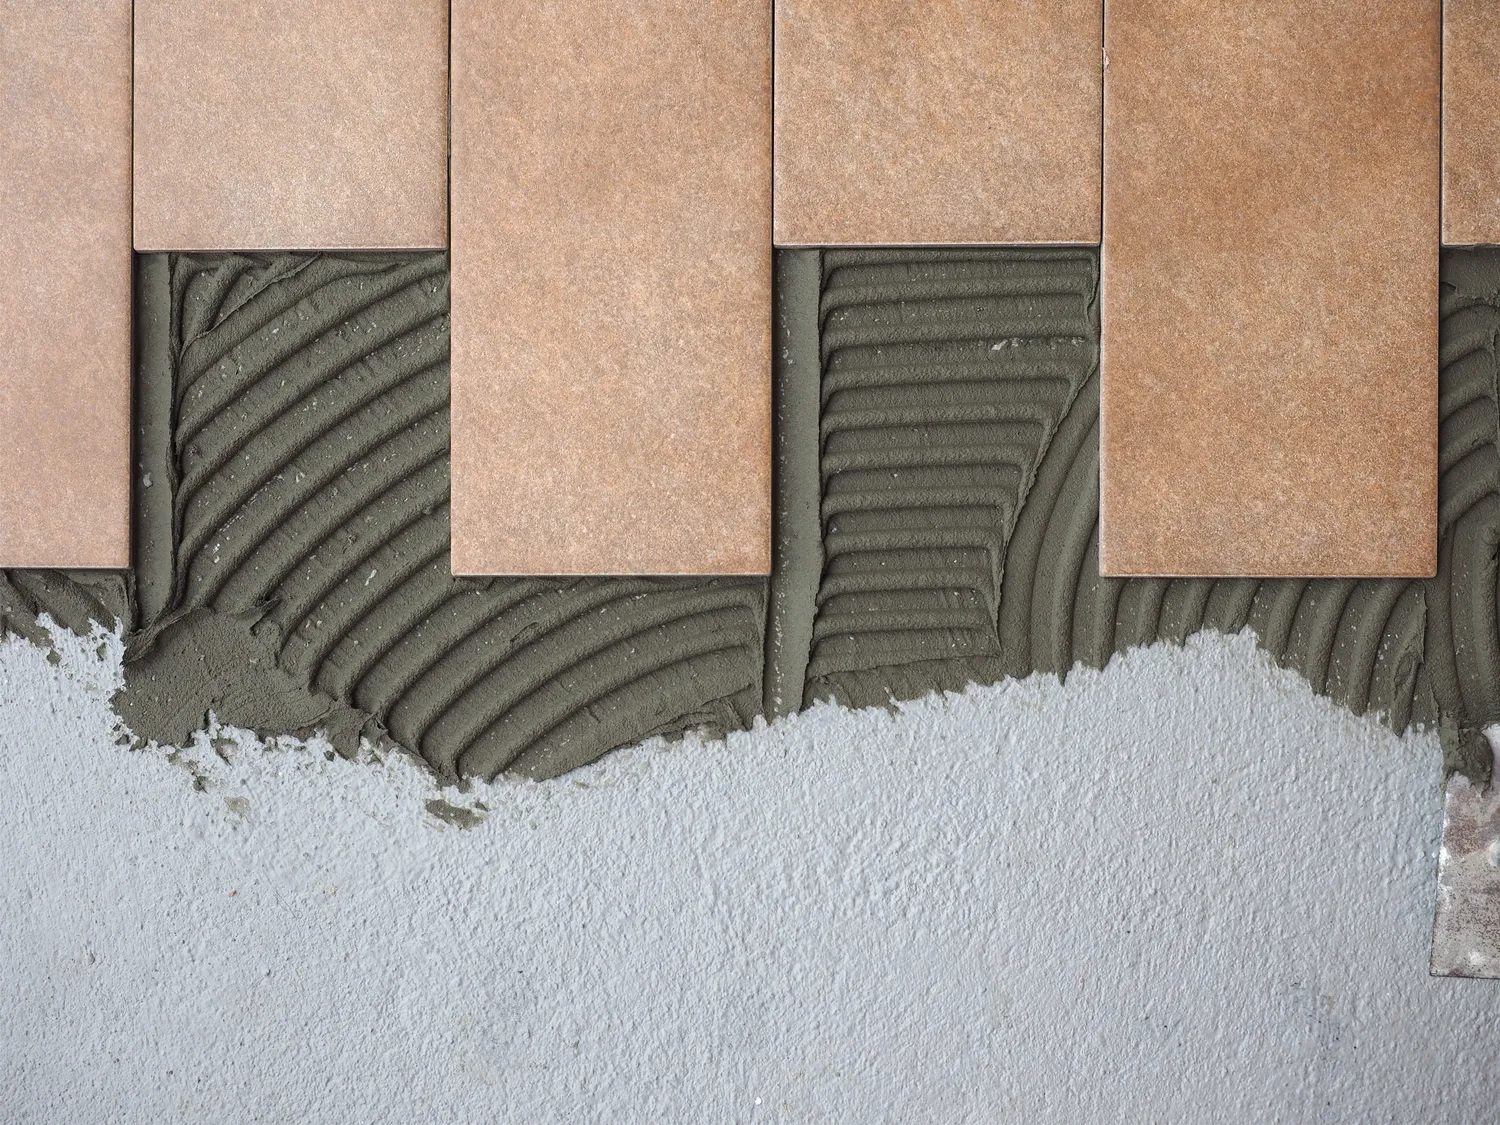
Adhesive can be applied using either the single- or double-buttering method. Double buttering, which involves applying adhesive both to the substrate and to the back of the tile, is strongly recommended for large-format tiles or wet areas.
For effective application:
- Apply the adhesive with a suitable notched trowel, using 6 to 10 mm teeth depending on the tile size.
- Lay the tiles, applying even pressure.
- Check the alignment with a spirit level.
- Insert 2 to 5 mm tile spacers for even joints.
The adhesive’s open time, generally between 20 and 30 minutes, must be observed to ensure good adhesion.
Make precise cuts
Cutting is unavoidable, particularly around the edges or obstacles. A manual tile cutter is sufficient for standard tiles, but an angle grinder fitted with a diamond blade is preferable for denser materials such as porcelain stoneware.
Each cut must be measured precisely, taking the thickness of the joints into account. An error of a few millimetres can compromise the overall alignment.
In corners, a neat finish is essential. Using aluminium or PVC finishing profiles provides a clean, durable result.
Laying the joints: a decisive finish
Grout joints provide both watertightness and an attractive finish for the surface covering. Their width generally varies between 2 and 5 mm depending on the tile format.
Grout is applied using a rubber squeegee, diagonally across the tiles. After a partial drying time, the excess is removed with a damp sponge.
The choice of grout colour strongly influences the final appearance. Matching grout creates a uniform surface, while contrasting grout highlights the pattern of the tiles.
Adapt the installation to the specific materials
Not all tiles are installed in the same way. Some materials require special precautions.
For example, cement tiles are porous and susceptible to staining. They must be treated with a water-repellent product before installation and after grouting. Their thickness, often between 12 and 16 mm, requires the use of a suitable adhesive.
Handcrafted zellige features irregularities that are part of its charm. Installation requires a certain tolerance in alignment and favours fine grout lines to preserve its authentic appearance.
Earthenware tiles, which are more fragile, are mainly used for walls. Their lightness makes wall tile installation easier, but they require careful handling to prevent chipping.
Avoid common mistakes
Certain errors can compromise the quality of the installation, even when using good materials.
An inadequately prepared substrate often leads to adhesion problems. Poor joint management can cause cracks or water ingress. Finally, installation carried out too quickly without regular checks of the alignment results in visible gaps.
Taking the time to check each step helps avoid these inconveniences. Using suitable tools, such as a laser level or levelling systems, considerably improves accuracy.
Maintain tiles after installation
Once installation is complete, maintaining the tiles extends the lifespan of the covering. Regular cleaning with a neutral product is sufficient for most surfaces.
Certain materials, such as cement tiles or zellige, require specific care. Periodic application of a protective treatment preserves their appearance and limits staining.
In damp rooms, it is recommended that you regularly check the condition of the seals. Damaged seals should be renewed to ensure watertightness.
Optimise the aesthetic appearance
Tiles are not limited to a functional role. They make a full contribution to the atmosphere of a room and directly influence how its dimensions are perceived. The choice of tile size, colour and laying pattern acts as a genuine decorative tool, capable of transforming a space without altering its structure.
Tile size plays a decisive role in how a room is perceived visually. Large-format tiles, such as 60 x 60 cm or 80 x 80 cm, reduce the number of grout lines and create a more uniform surface, giving the impression of a more spacious area. Conversely, small-format tiles, such as 10 x 10 cm tiles or mosaics, add rhythm and are particularly suited to specific areas such as a splashback or shower. The choice of format should also take the room’s size into account: in a restricted space, tiles that are too large may require numerous cuts, which can detract from the visual harmony.
Colour strongly influences brightness and atmosphere. Light shades, such as beige, off-white or pearl grey, reflect natural light and make spaces appear larger. They are particularly suitable for rooms with little natural light. More intense shades, such as anthracite, terracotta or deep blue, create a more intimate and structured atmosphere. Used on a wall or on the lower part of a wall, they help define spaces without creating divisions.